
How to Install the Atlas X Wheels and Fenders on the Tern Orox S12
As an adventure e-cargo bike, the Tern Orox S12 is engineered to withstand the elements and tough road conditions while maintaining top performance. If you love DIY as much as biking, check out these instructions to help you install the Atlas X27.5 or the Atlas X29 Wheelset and Fenders and make the most of your Orox bike!
Contents
Friendly Reminder
A. Parts, Tire Size, and Tools
- Atlas X Wheelsets: What is included in the box?
- Atlas X Fenders: What is included in the box?
- Which tire size should I choose?
- What tools do I need?
B. Installation Instructions
Friendly Reminder
This article provides you with tips and recommendations to help you DIY. If you are unsure about anything, please consult your nearest Tern dealer.
A. Parts, Tire Size, and Tools
The Atlas X Wheelsets for the Orox S12 are available in 27.5-inch and 29-inch, and they do not include tires or tools. The Atlas X Fenders are sold separately from the Atlas X Wheelsets.
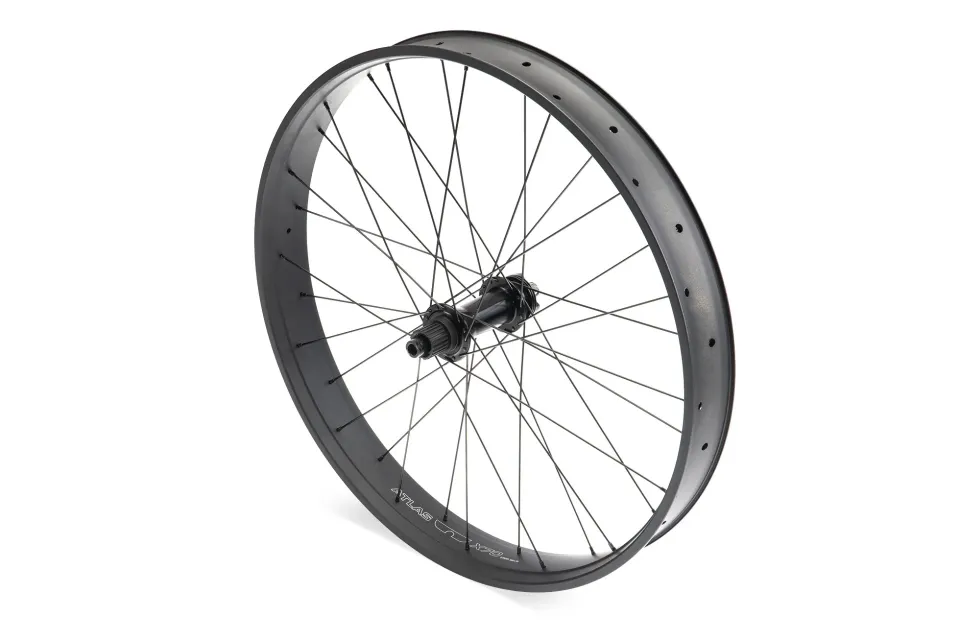
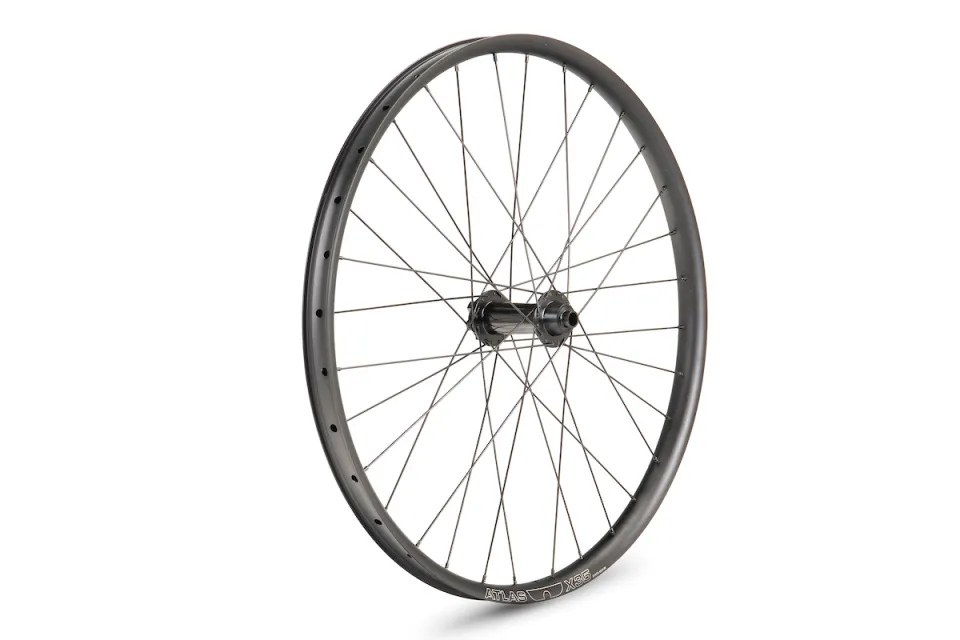
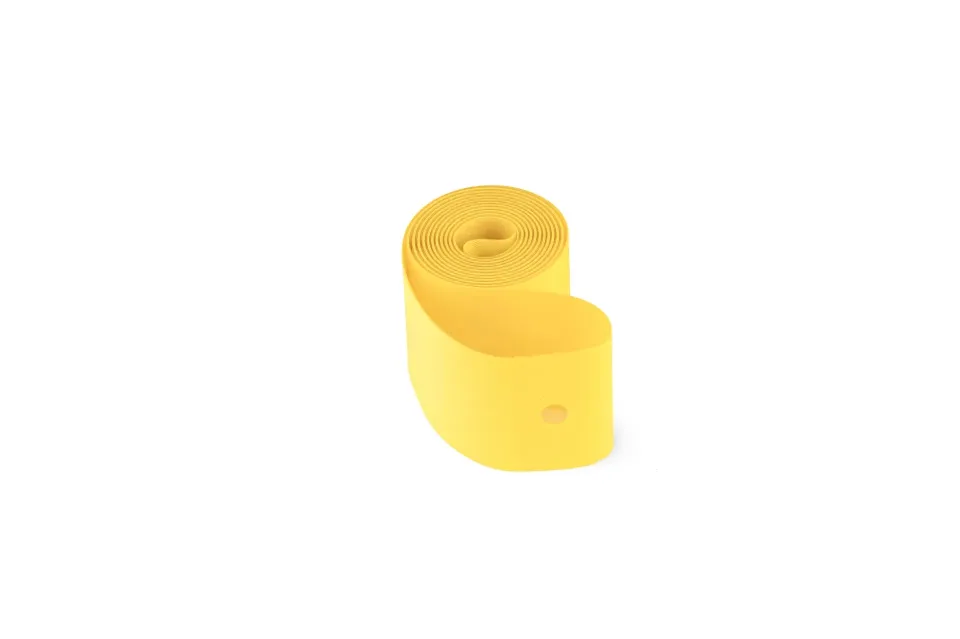
Atlas X Wheelsets: What is included in the box?
Note: The front and rear wheelsets are sold separately.
| The Atlas X Front Wheelset (both the 27.5” and 29”) box contains: | The Atlas X Rear Wheelset (both the 27.5” and 29”) box contains: |
|
|
| 
| 
|
Atlas X27.5 Wheelset | Atlas X29 Wheelset | Rim Tape |
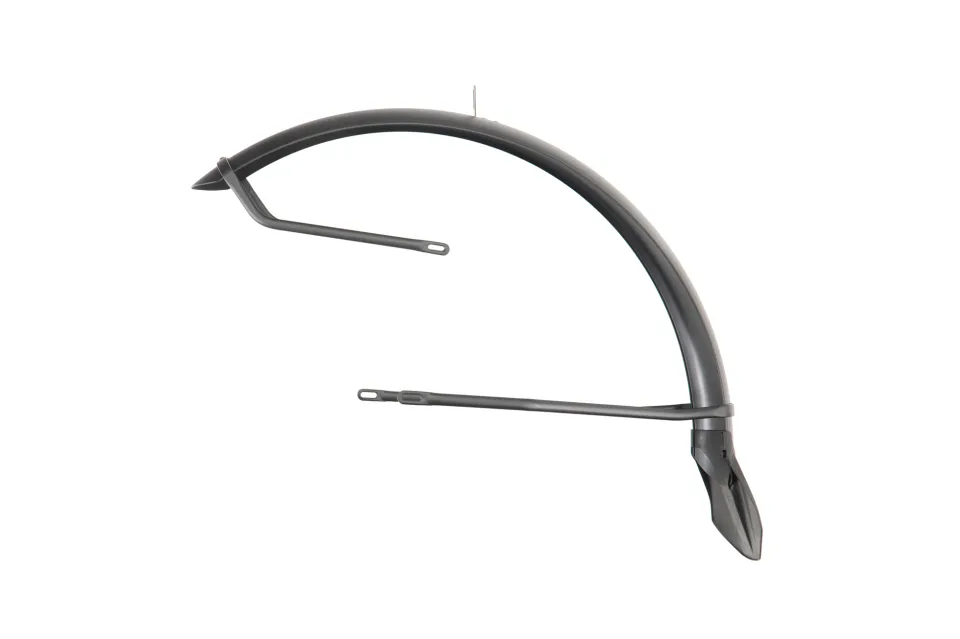
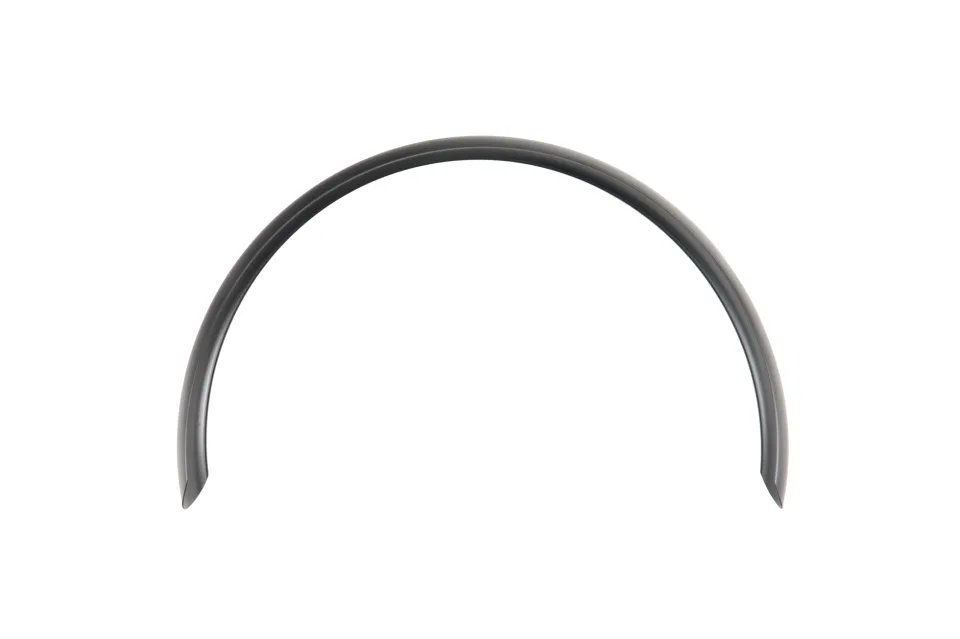
Atlas X Fenders: What is included in the box?
The Atlas X Fenders box contains 1 set of front and rear fenders and mounting hardware.
| 
|
Front fender | Rear fender |
Note: These fenders look the same for both wheel sizes, but note that the hardware differs for each size.
Parts for the 27.5-inch fenders | Parts for the 29-inch fenders |
|---|---|
Parts for the 27.5” FRONT fender:
| Parts for the 29" FRONT fender:
|
Parts for the 27.5” REAR fender:
| Parts for the 29” REAR fender:
|
Which tire size should I choose?
Please ensure you have the correct tire size.
- For the Atlas X27.5” wheels, we recommend 27.5” x 4.0” tires (ETRTO 100-584).
- For the Atlas X29” wheels, we recommend 29” x 2.6” tires (ETRTO 65-622).
The Atlas X27.5 Wheelset is designed to work seamlessly with 27.5” x 4.0” tires, optimized for superior traction. On the other hand, the Atlas X29 is tailored for 29” x 2.6” tires, offering a lighter and more agile option.
To learn more about the wheel sizes, check out this article where we explain the specs and their benefits in more detail.
What tools do I need?
The installation tools for both the 27.5” and 29” Atlas X Wheelsets are identical:
- 6 mm Allen wrench
- T25 screwdriver
- Cassette Removal Tools for 12-speed (HG)
Heads-up: The 27.5” 29” Atlas X Fenders each need a different set of tools. See the table below:
27.5-inch | 29-inch |
|---|---|
|
|
B. Installation Instructions
The following steps apply to both the 27.5” and 29” wheels.
Step 1: Remove the wheels and fenders
After removal, remember to properly store the removed wheels and fenders.
Step 2: Install new tires on the new wheels
You can skip this step if you do not need to swap the tires.
Step 3: Install new fenders
3.1. Prepare the new fender set and adjust the gear
- Pre-assemble the new set of front and rear fenders.
- Shift to the highest gear.
- Park the Orox vertically and ensure the kickstand is deployed (perpendicular to the bike). Secure the bike to ensure that it does not fall forward as you replace the parts.
3.2. Replace the fenders and wheelset
- Remove the original front and rear fenders and wheelset.
- Install the new set of fenders using the correct screw lengths.
- When installing the front fender, torque the four bolts on the fork to 4-5 Nm, and torque the top nut to 10-12 Nm.
- Similarly, torque the four bolts to 4-5 Nm when installing the rear fender.
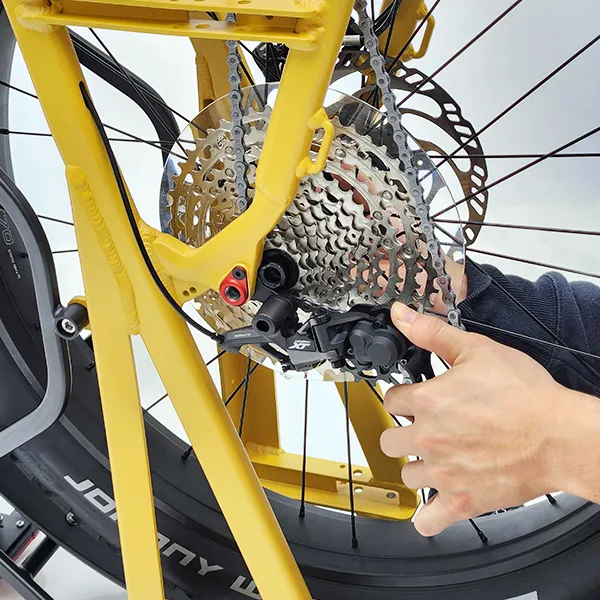
- Transfer the cassette and disc from the original wheelset to the new wheelset.
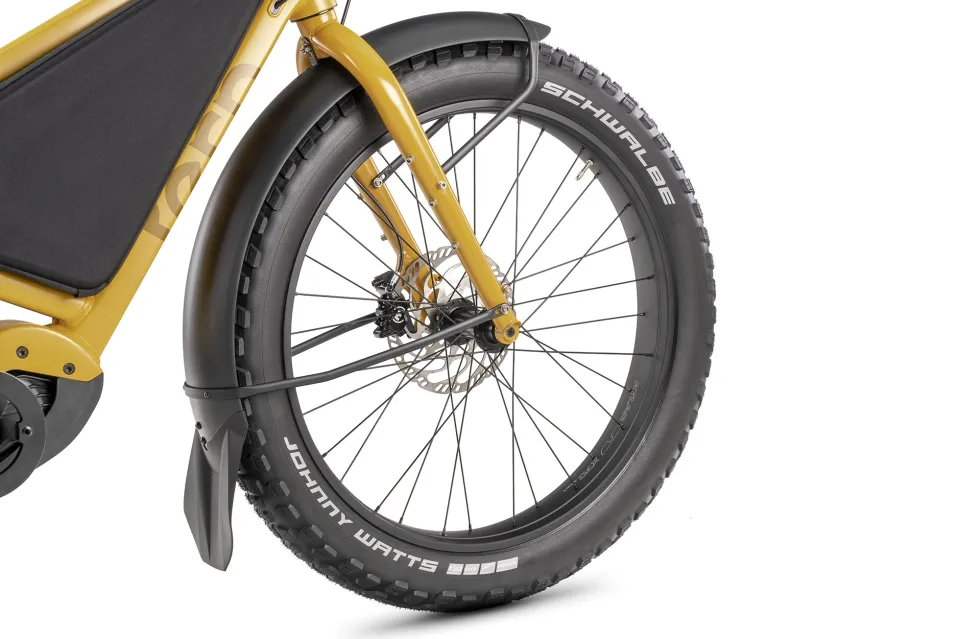
- Install the front wheelset (see the picture below).
- To install the rear wheelset, put the smallest cog of the cassette into the loop of the chain while pivoting the derailleur.
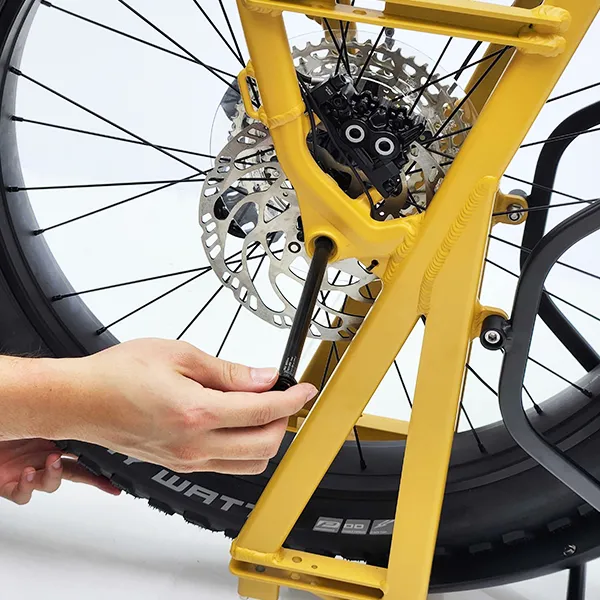
- Re-insert the wheel axle and torque it to 10 Nm. The rotation direction is shown on the axle.
- Ensure that all 12 gears run smoothly and the indicator points to the correct number.
- The wheelset swap is now complete.