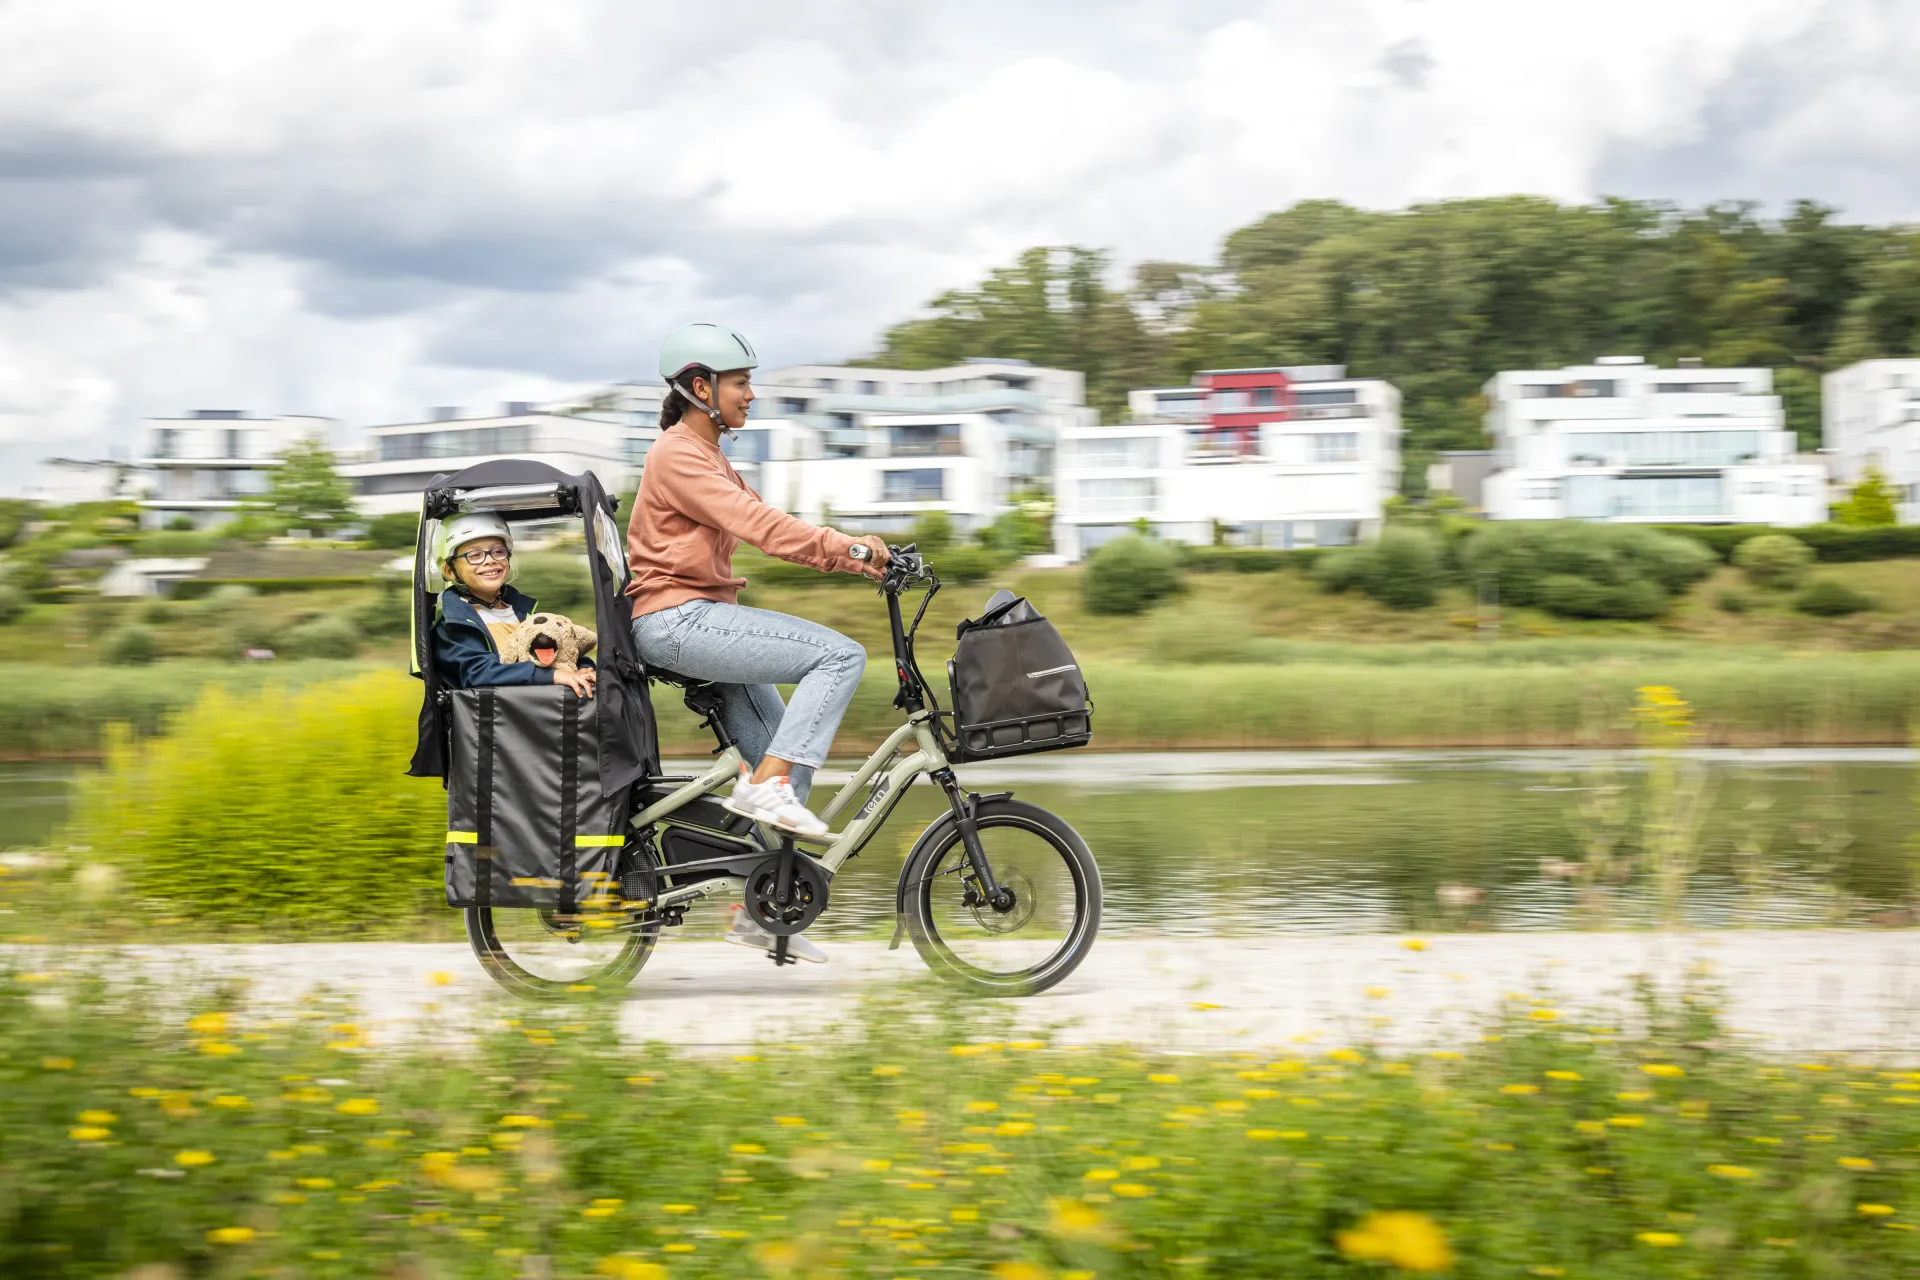
The Storm Shield Mini is a weather-resistant canopy for the HSD, Quick Haul, and Short Haul. It protects your child passenger from the elements and makes every day a great day to ride.
Installing the Storm Shield Mini requires one or more additional passenger accessories (that’s where you’ll anchor the Storm Shield Mini). You have two options, and in this article, we’ll quickly explain each.
Option 1: Use the Clubhouse Mini
If you choose this setup, the Clubhouse Mini is the only additional required accessory.
This setup should work well regardless of rider height.
This setup allows you to add the Storm Box Mini and build the complete Clubhouse Fort Mini if desired. Your child can be seated either in a child seat or using the Clubhouse Seat Pad plus Clubhouse Backrest combo.
For more details: What is Clubhouse Fort Mini and How to Build One
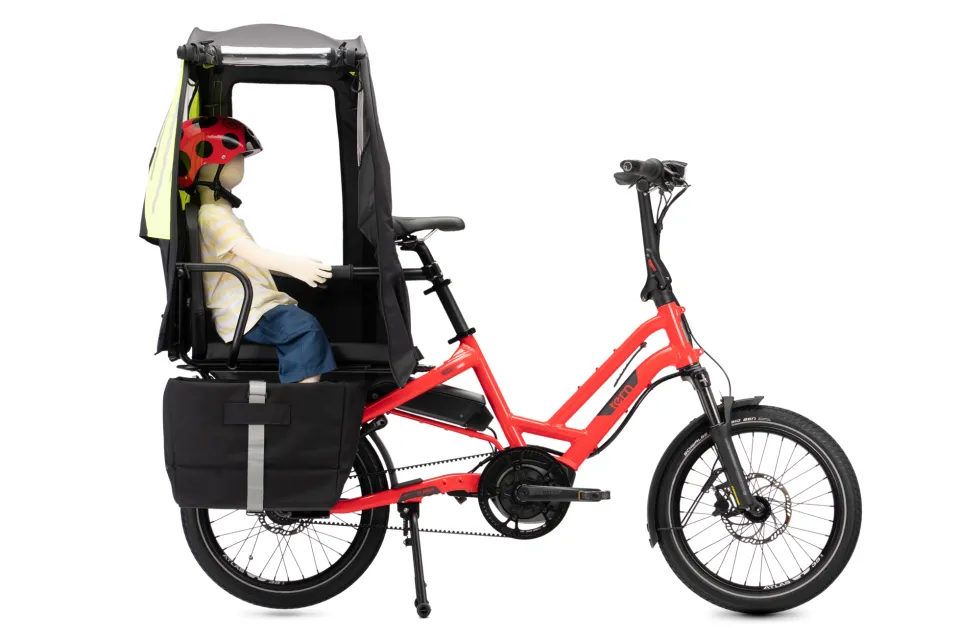
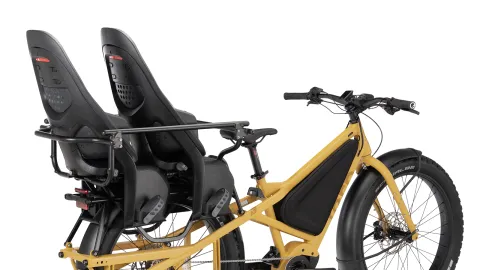
Option 2: Use the Captain’s Chair + Sidekick Joyride Bars Combo
If you choose this setup, you’ll need both the Captain’s Chair and the Sidekick Joyride Bars to create enough anchoring points for the Storm Shield Mini. Other handhold bars, such as the Sidekick Flat Bars, won’t work.
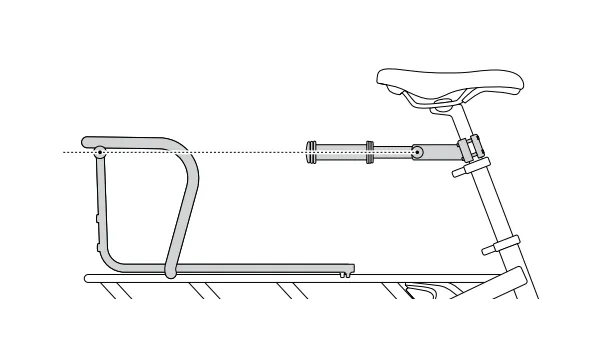
Important: This setup has rider height limitations. We recommend the setup for riders approximately 170 - 190 cm (5’7” - 6’3”) tall. That’s because the Sidekick Joyride Bars attach to the seatpost. They need to be approximately level with the bars on the Captain’s Chair to install the Storm Shield Mini successfully. If your seatpost height is low, the Sidekick Joyride Bars may be too low for this setup to work properly.
If you choose this setup, you can’t install the Storm Box Mini. There is no way to build the complete Clubhouse Fort Mini without the Clubhouse Mini.
One thing you can do is use the Cargo Hold 37 Panniers in Bucket Mode. They’ll provide at least some weather protection for your passenger’s legs.
Don’t Forget to Include All Passenger System Elements
For your passenger’s safety, be sure to include all elements of the Tern Passenger System, no matter which setup you choose. These include:
- Dedicated seating: A compatible child seat* OR Clubhouse Seat Pad plus Clubhouse Backrest OR Captain’s Chair
- Handhold: Clubhouse Mini OR Sidekick Joyride Bars
- Foot support: Sidekick Footrests or plates at the bottom of the Storm Box Mini
- Leg protection: Storm Box Mini OR Sidekick Wheel Guard M OR Cargo Hold 37 Panniers (flat-folded or in Bucket Mode)
- Optional double kickstand for extra stability: DuoStand
*Child seats should always include the required elements for safe passenger carrying: seating, safety harness, foot support, and foot and leg protection.
Have more questions?
To learn more about how to use your Tern cargo bike to carry passengers, check out our Passenger Guide. If you can’t find the information you’re looking for, feel free to ask about it in our Facebook group for owners of:
Related Articles