
Introducing Your Folding Joints: Tern Joe Bike
This article refers to Joe bikes.
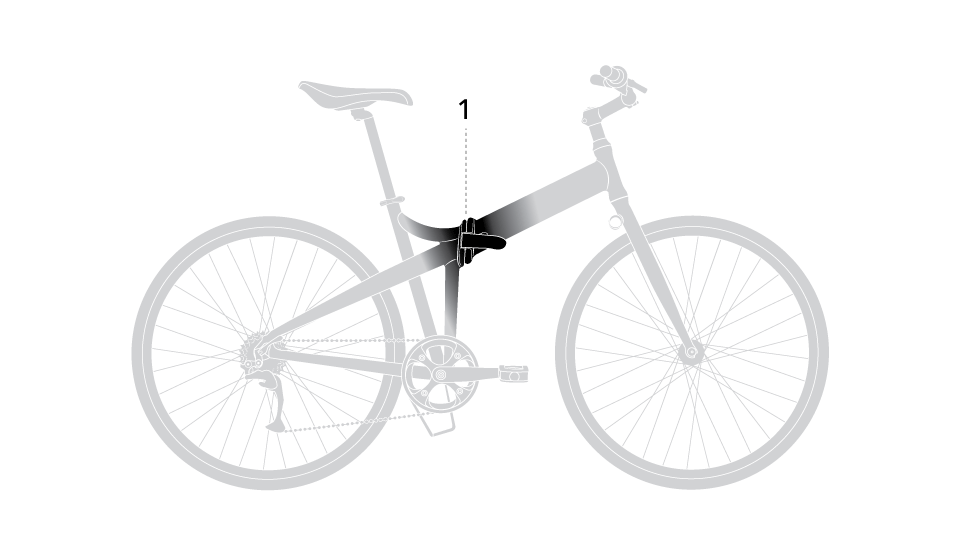
You want the frame joint on your bike to last for the long haul. So, let’s make sure you know how to use and maintain it properly. Start by taking a look at the illustration below. The #1 indicates where the frame joint is located on your bike.
Basic Anatomy
Joe bikes feature two different types of Frame Joints. The Joe P27 and Joe Tour have the OCL Frame Joint. All other Joe bikes have the FBL Frame Joint.
OCL™ Frame Joint
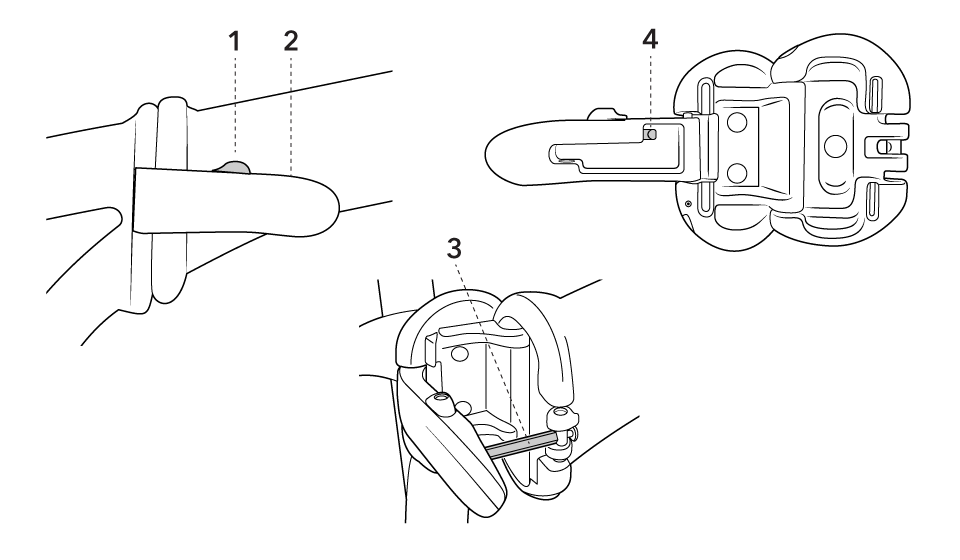
- Security Knob
- Lever
- Adjustment Bolt
- Safety Pin
FBL™ Frame Joint
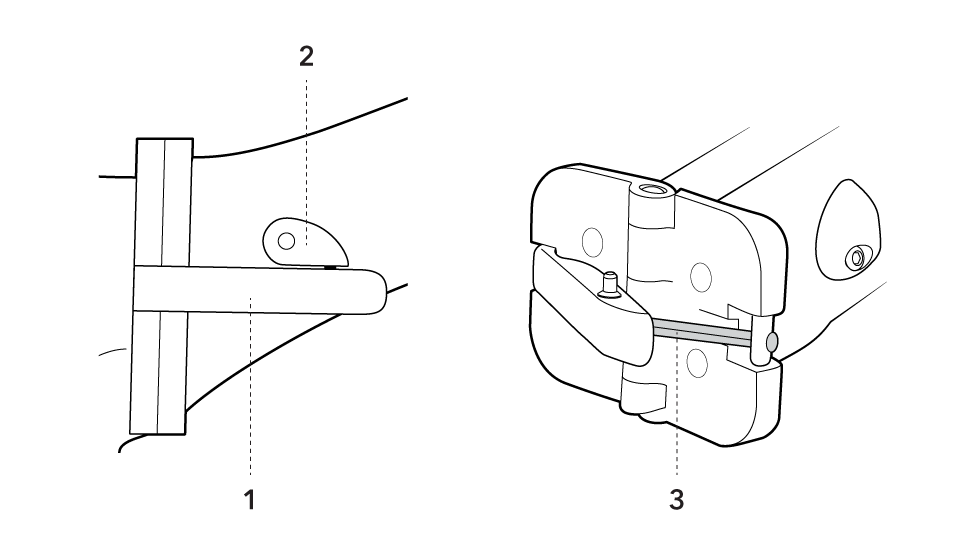
- Lever
- Security Knob
- Adjustment Bolt
Opening and Closing
Watch the videos below for a quick tutorial on using your Folding Joint. REMEMBER! You must move the Security Knob before opening the Joint Lever.
OCL Frame Joint
FBL Frame Joint
How to Adjust
It’s important that the Lever feels stiff when it opens and closes—but not too stiff. The stiffness is about right if you can use just the pressure of your palm to close the Lever and only 2 or 3 fingers to open it. If your Frame Joint doesn’t feel quite right, don’t worry, you can adjust it. See video instructions below.
NOTE! An incorrectly adjusted Folding Joint may cause frame damage or result in rider injury. Please don’t adjust your Frame Joint without proper knowledge or tools.
OCL Joint
FBL Joint
Regular Maintenance
Your Folding Joints need to be serviced on a regular basis by an Authorized Tern Dealer. Check out our recommended maintenance schedule and find a dealer near you. Before each ride, make sure you use the ABCQD test to make sure your Folding Joints are in tip-top shape.