
How to Remove the Existing GSD Kickstand
This article refers to GSD Gen 1 bikes.
Tools Needed
- 2.5 mm flat-head screwdriver
- T15 Torx wrench for the plastic holder
- T25 Torx wrench for the metal bracket
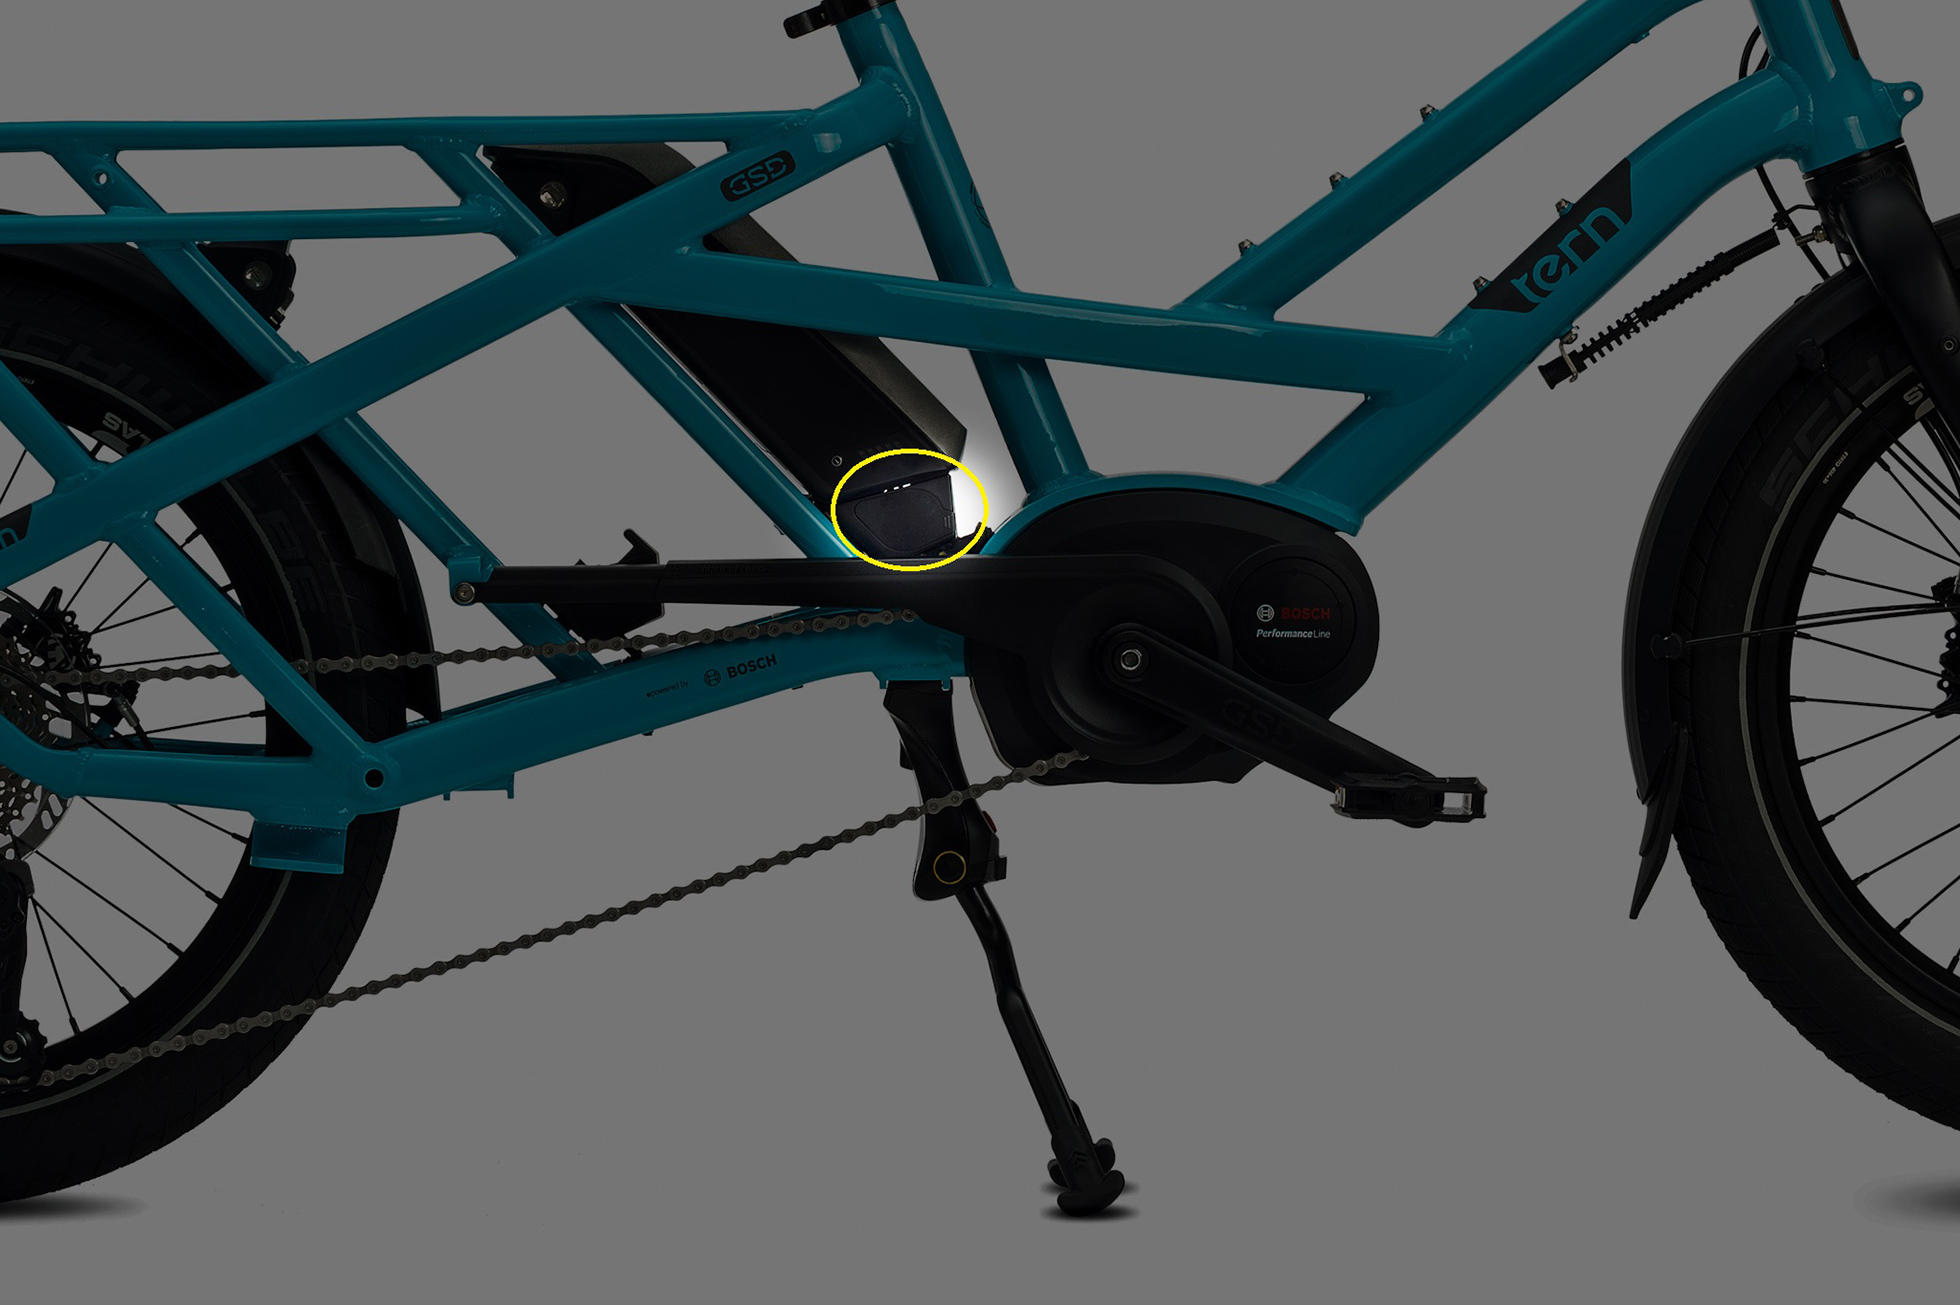
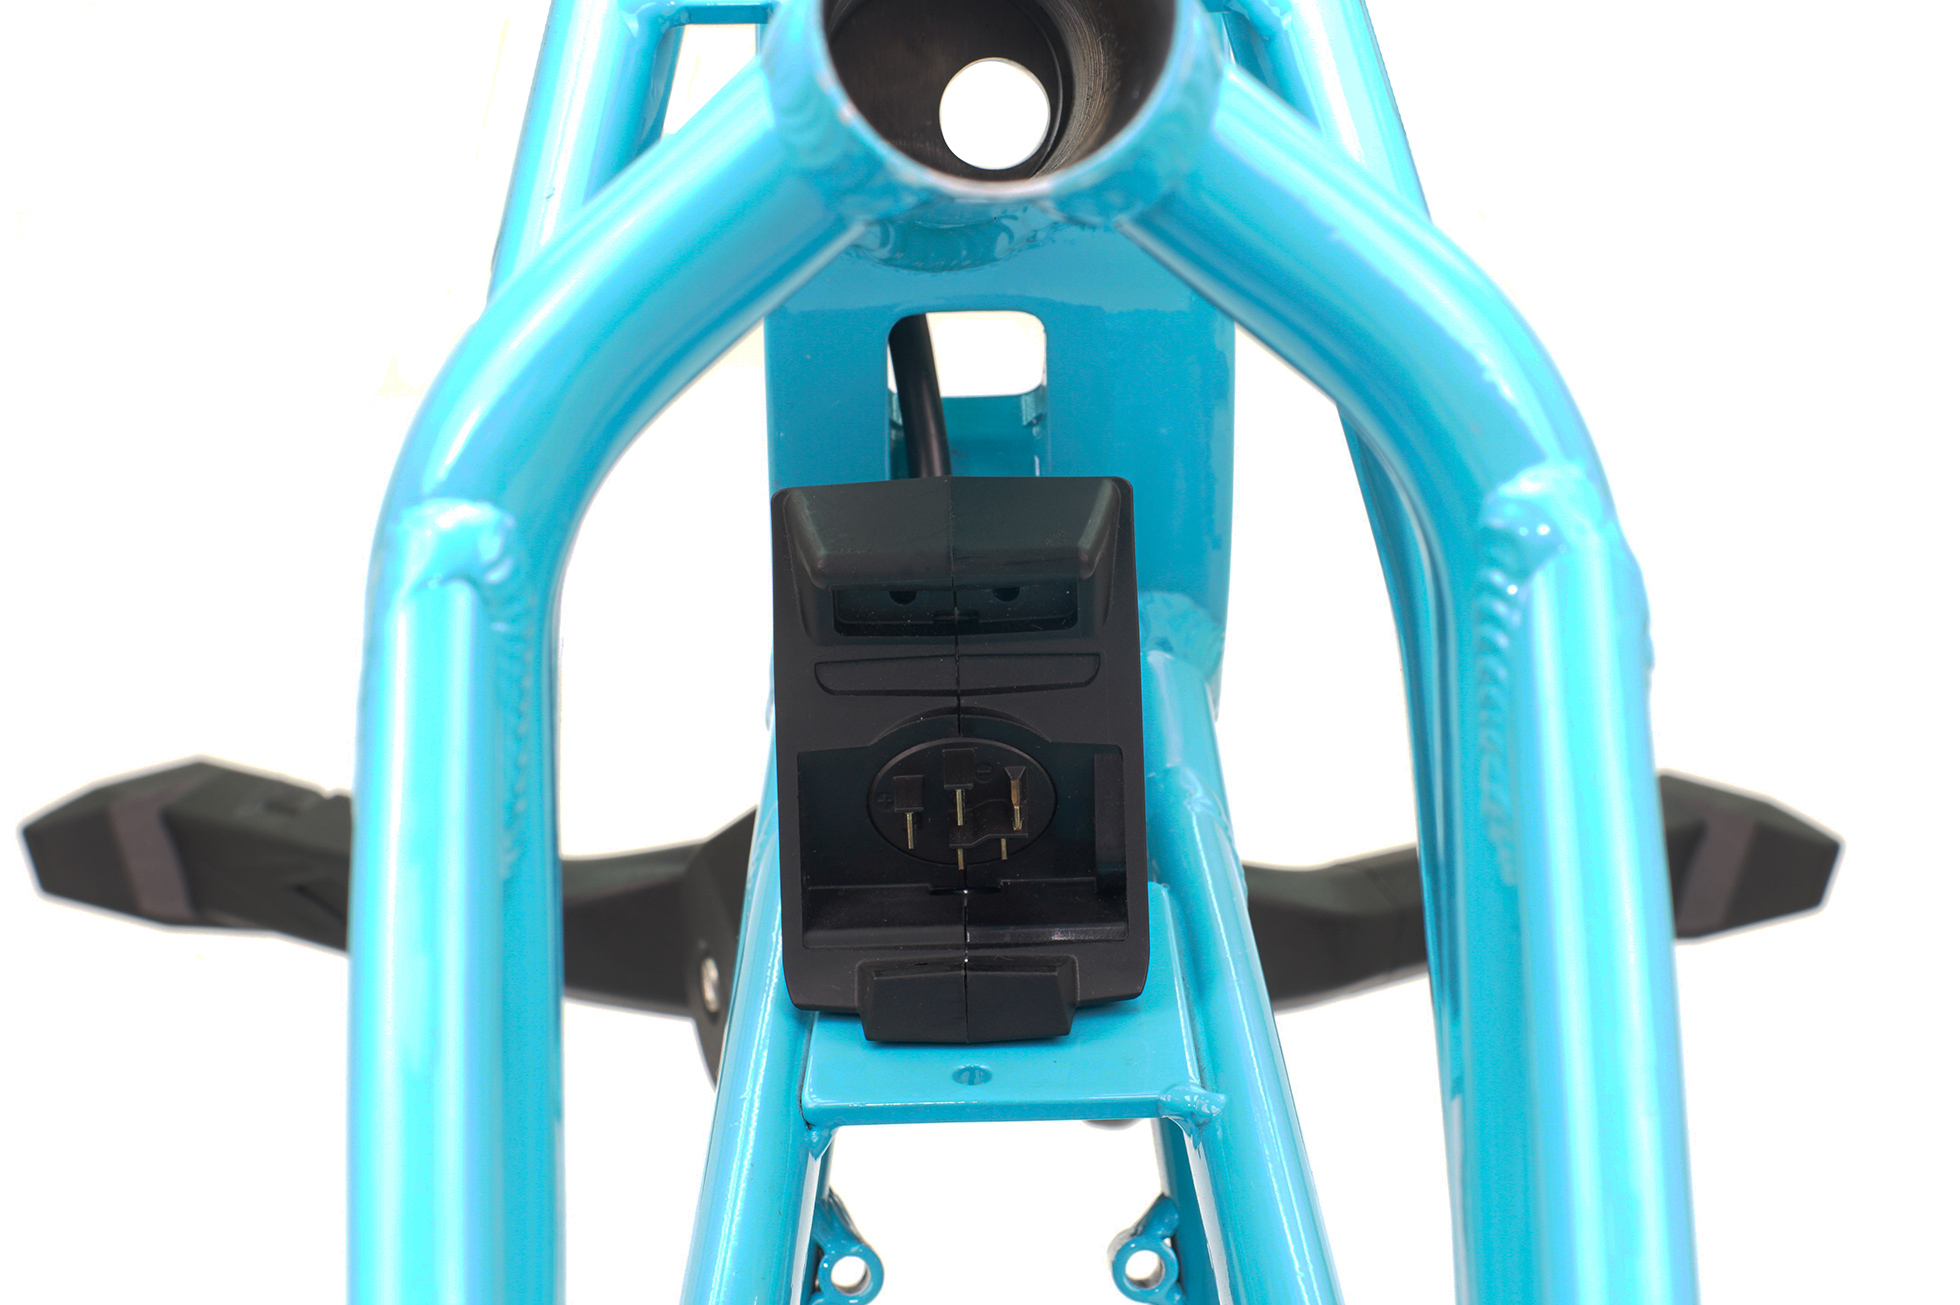
To install the Atlas Kickstand, you need to remove the bottom of the front Bosch battery holder to access the existing center-mounted kickstand on the GSD.
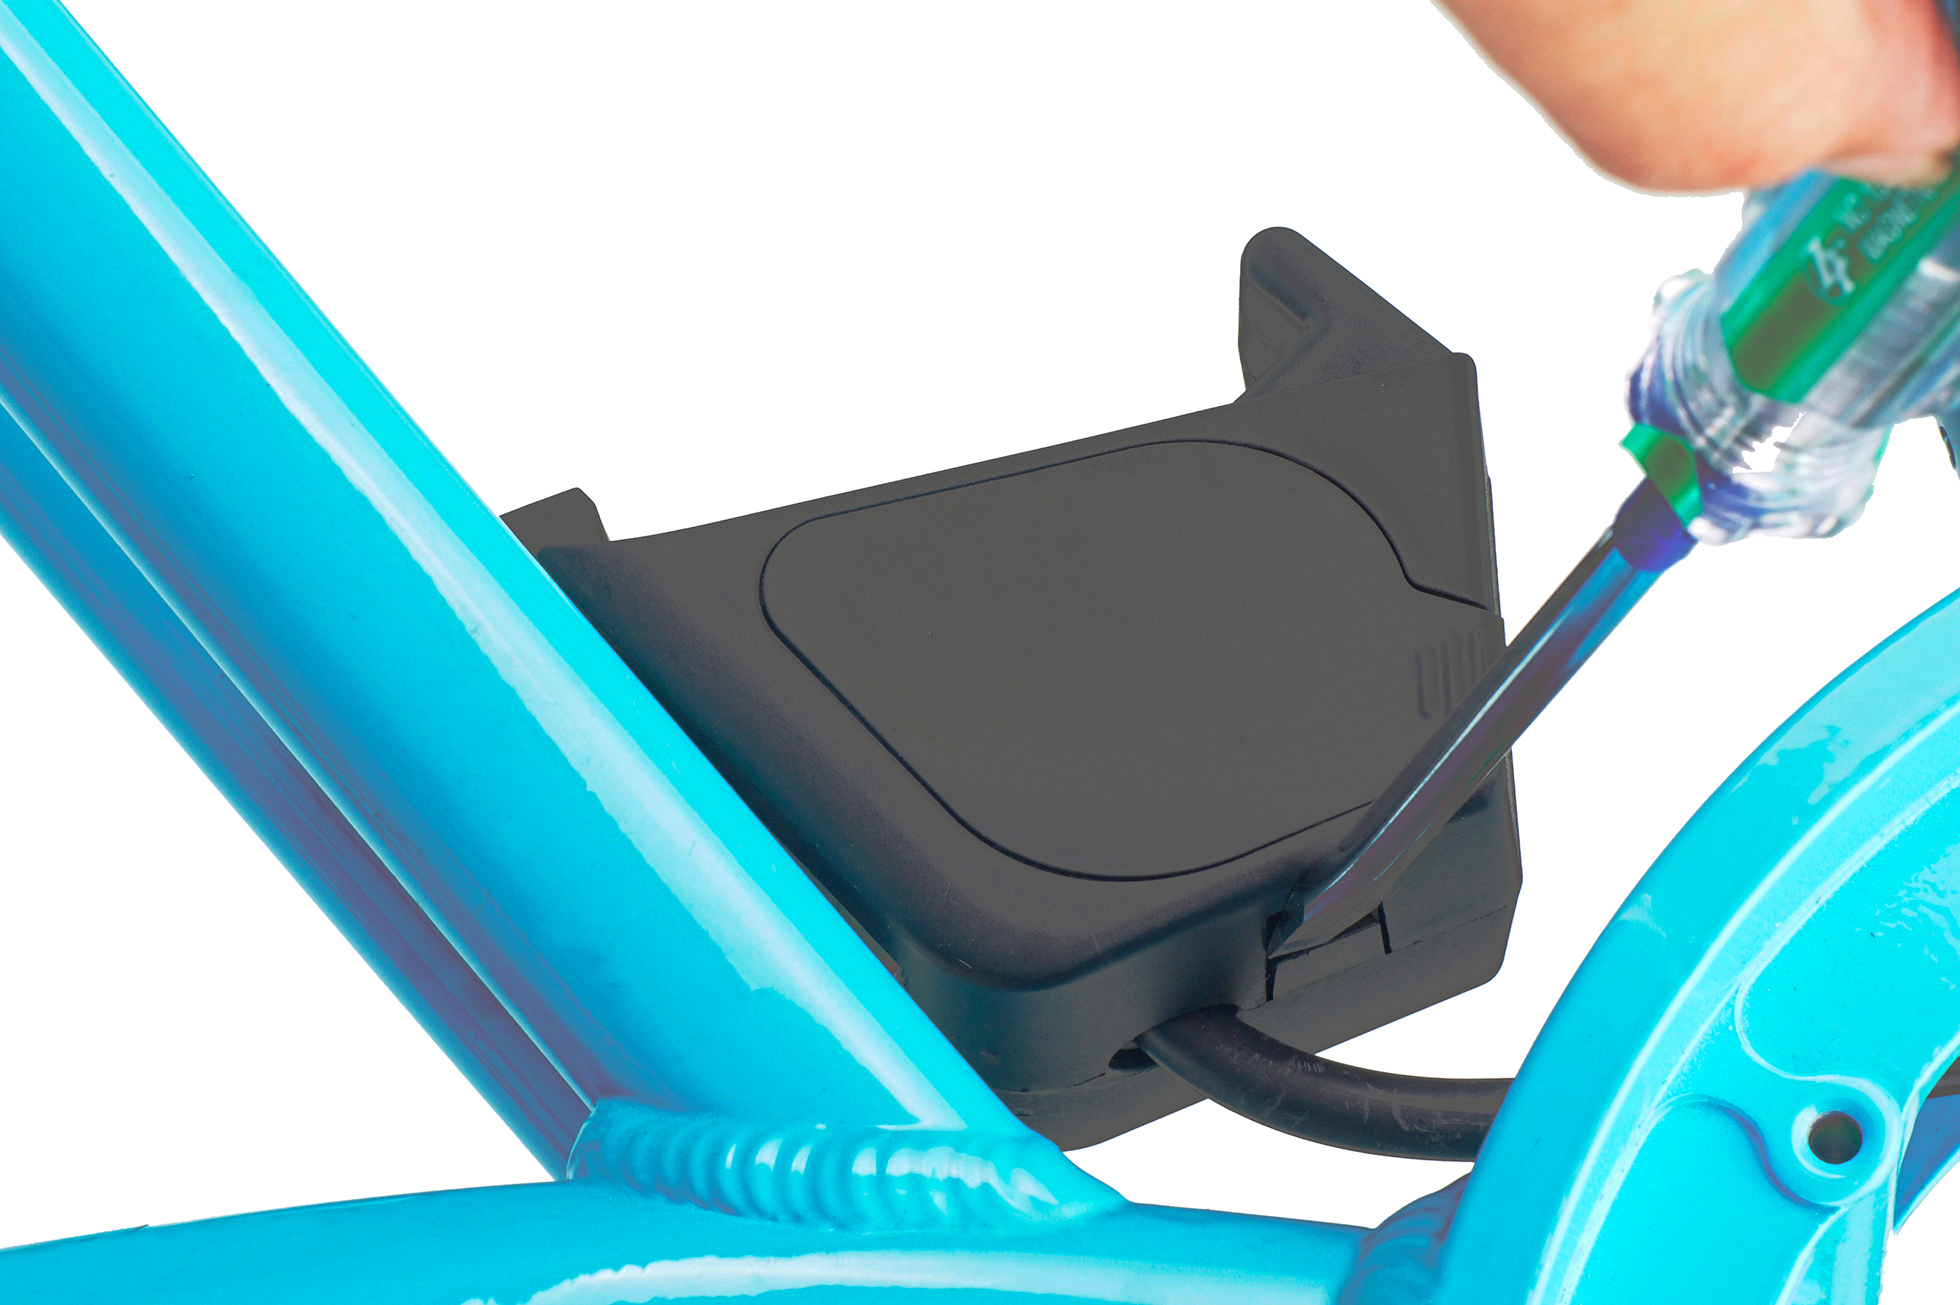
Step 1: Remove the battery from the battery holder and remove the screws holding the two halves of the case with a T15 Torx wrench.
Step 2: Gently pry open the case with a flat-head screwdriver.
Step 3: Remove the case to expose the metal bracket.
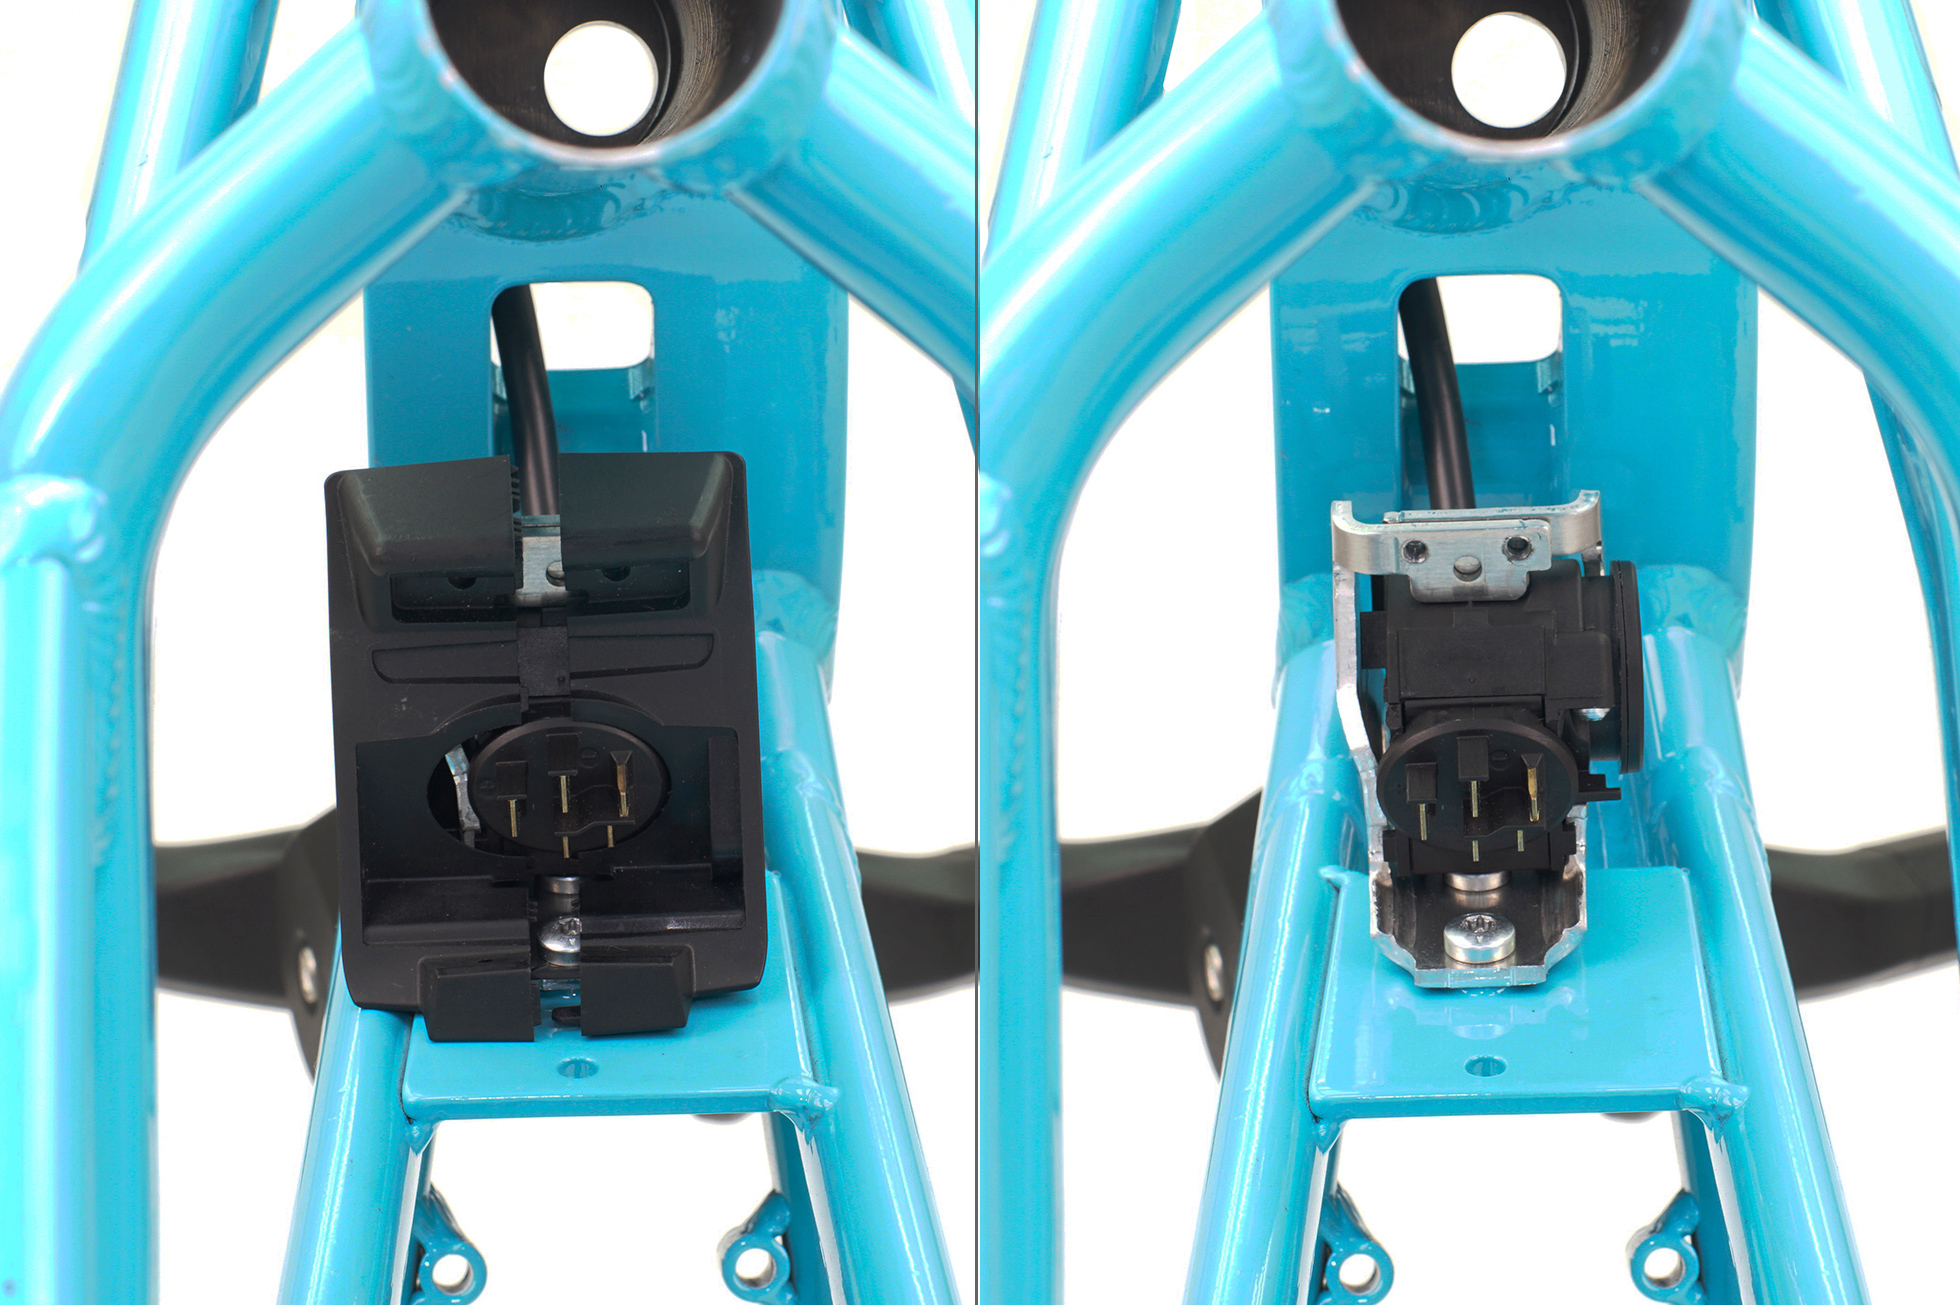
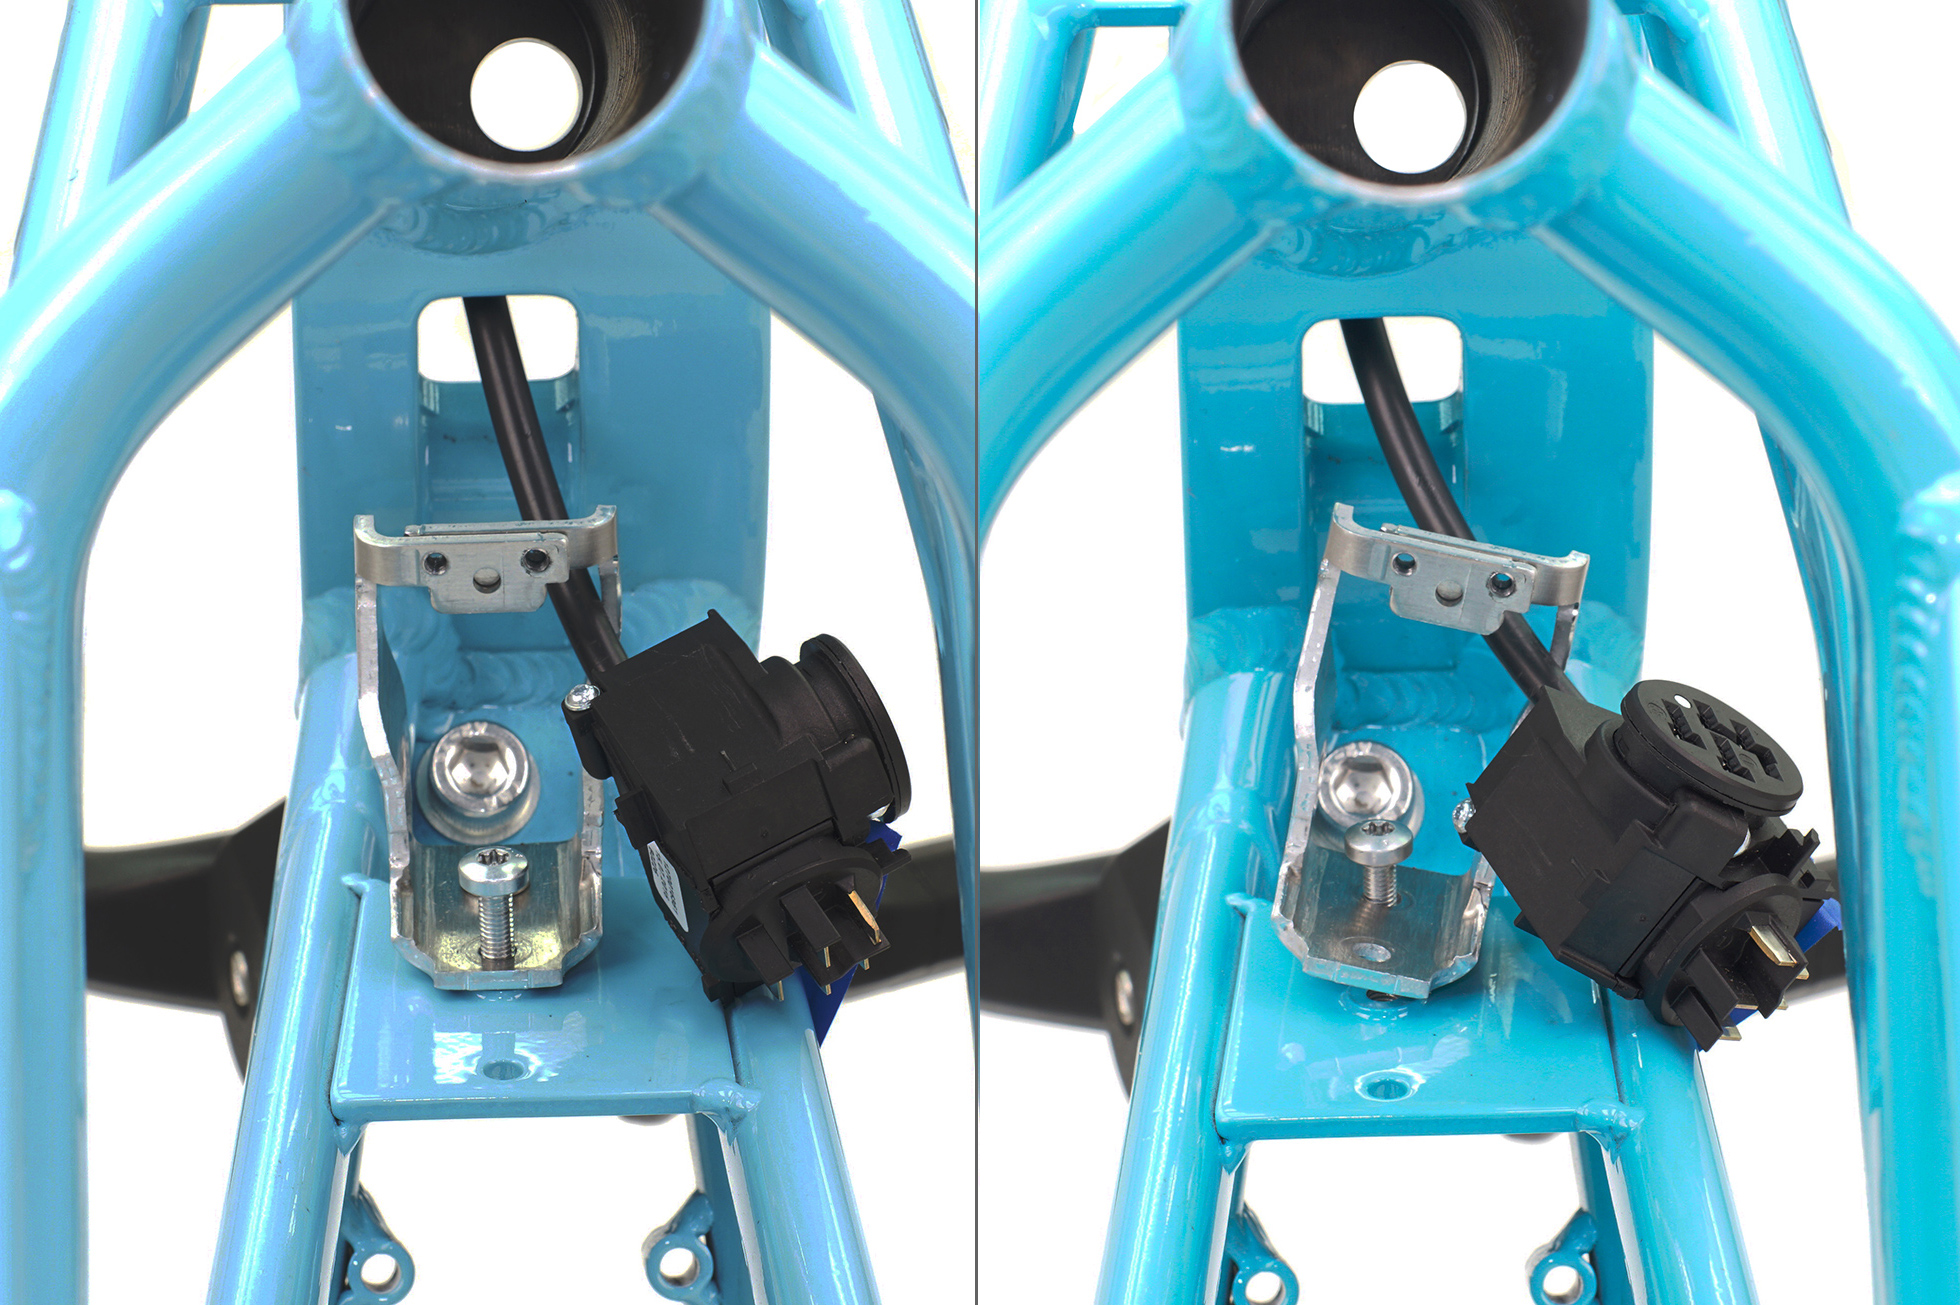
Step 4: Separate the plug from the metal bracket.
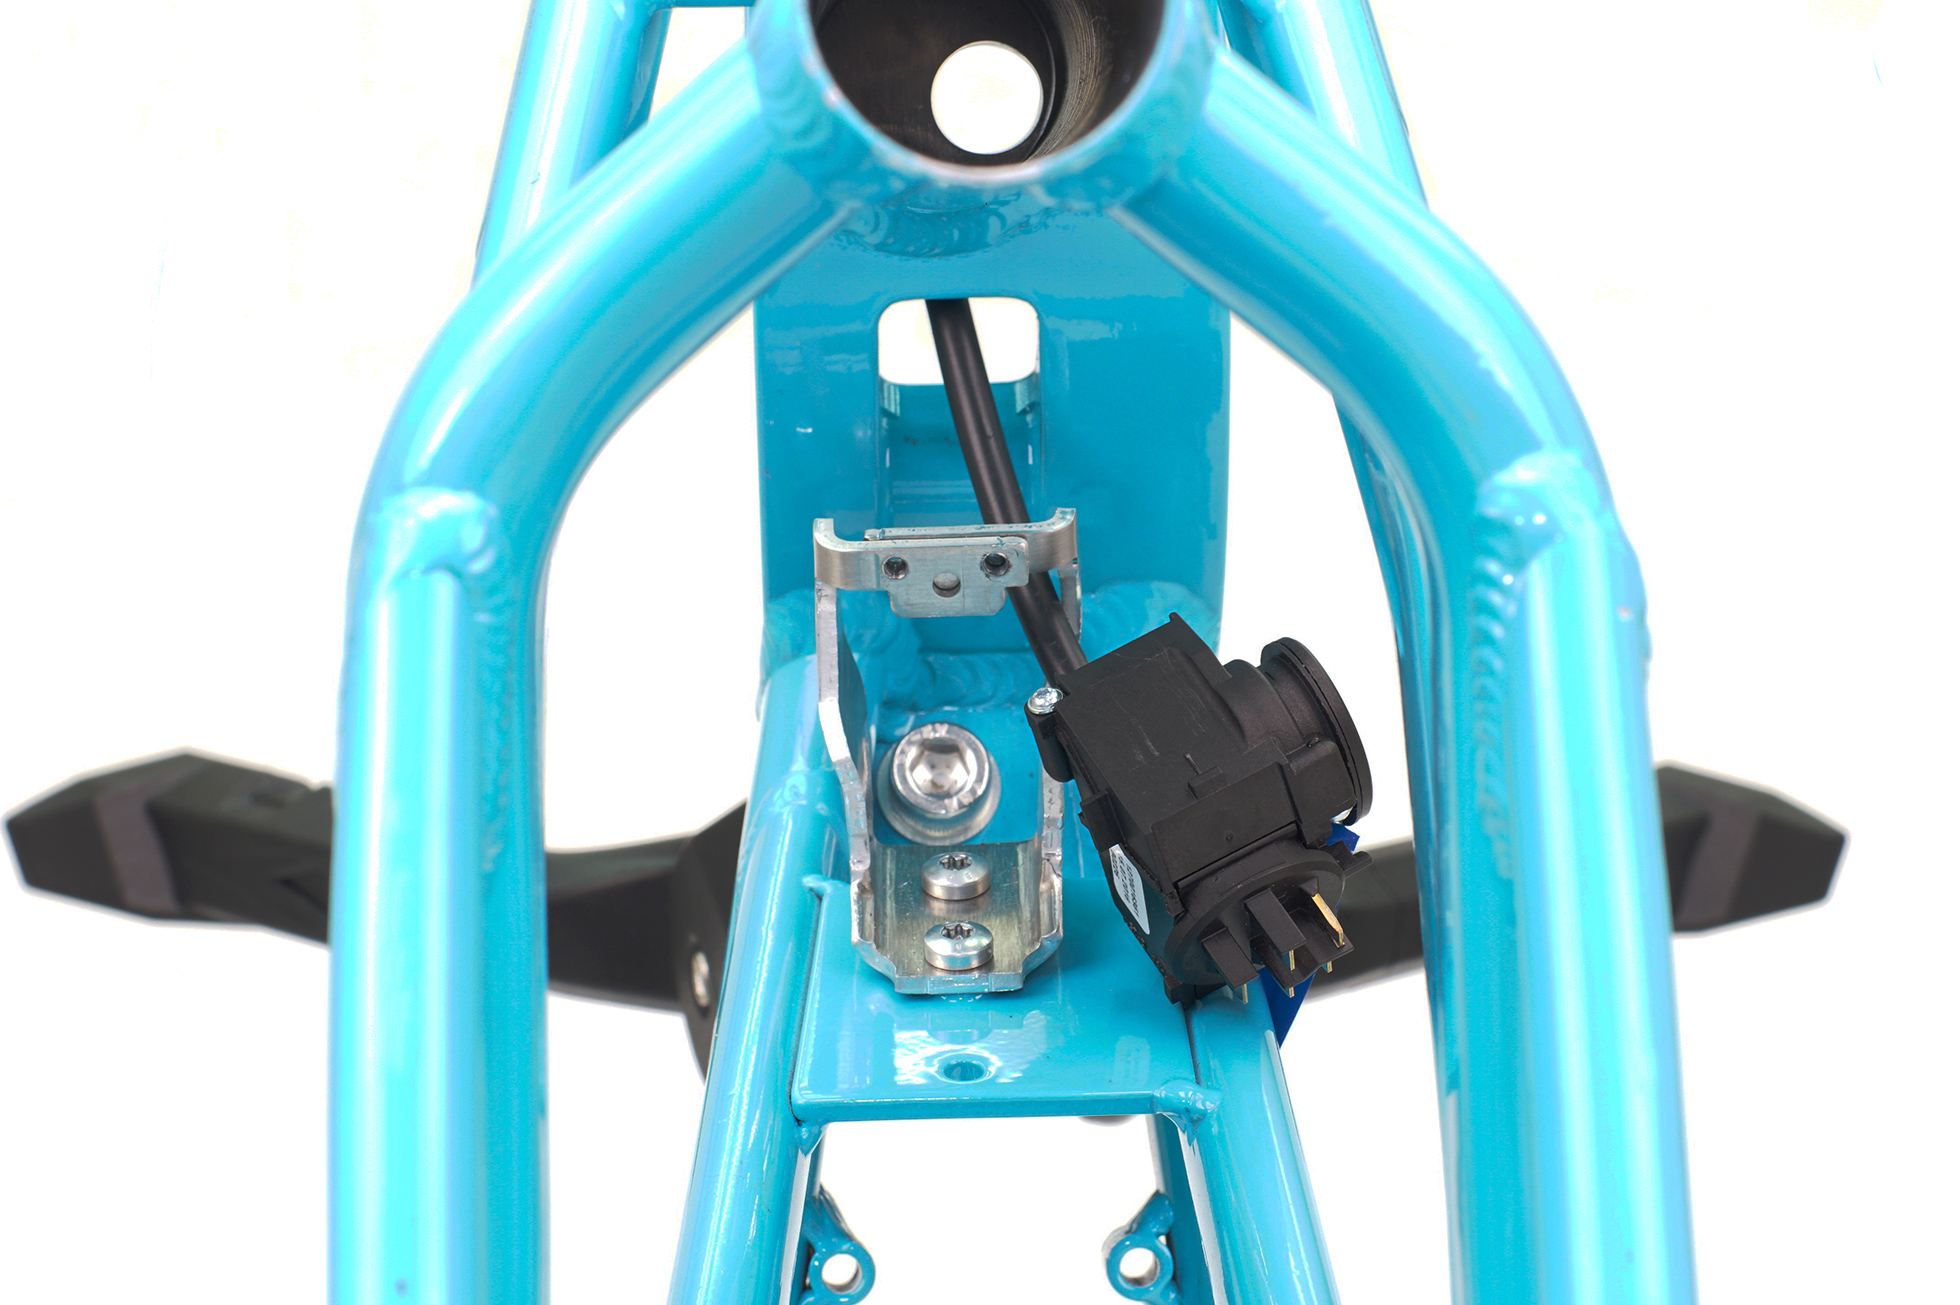
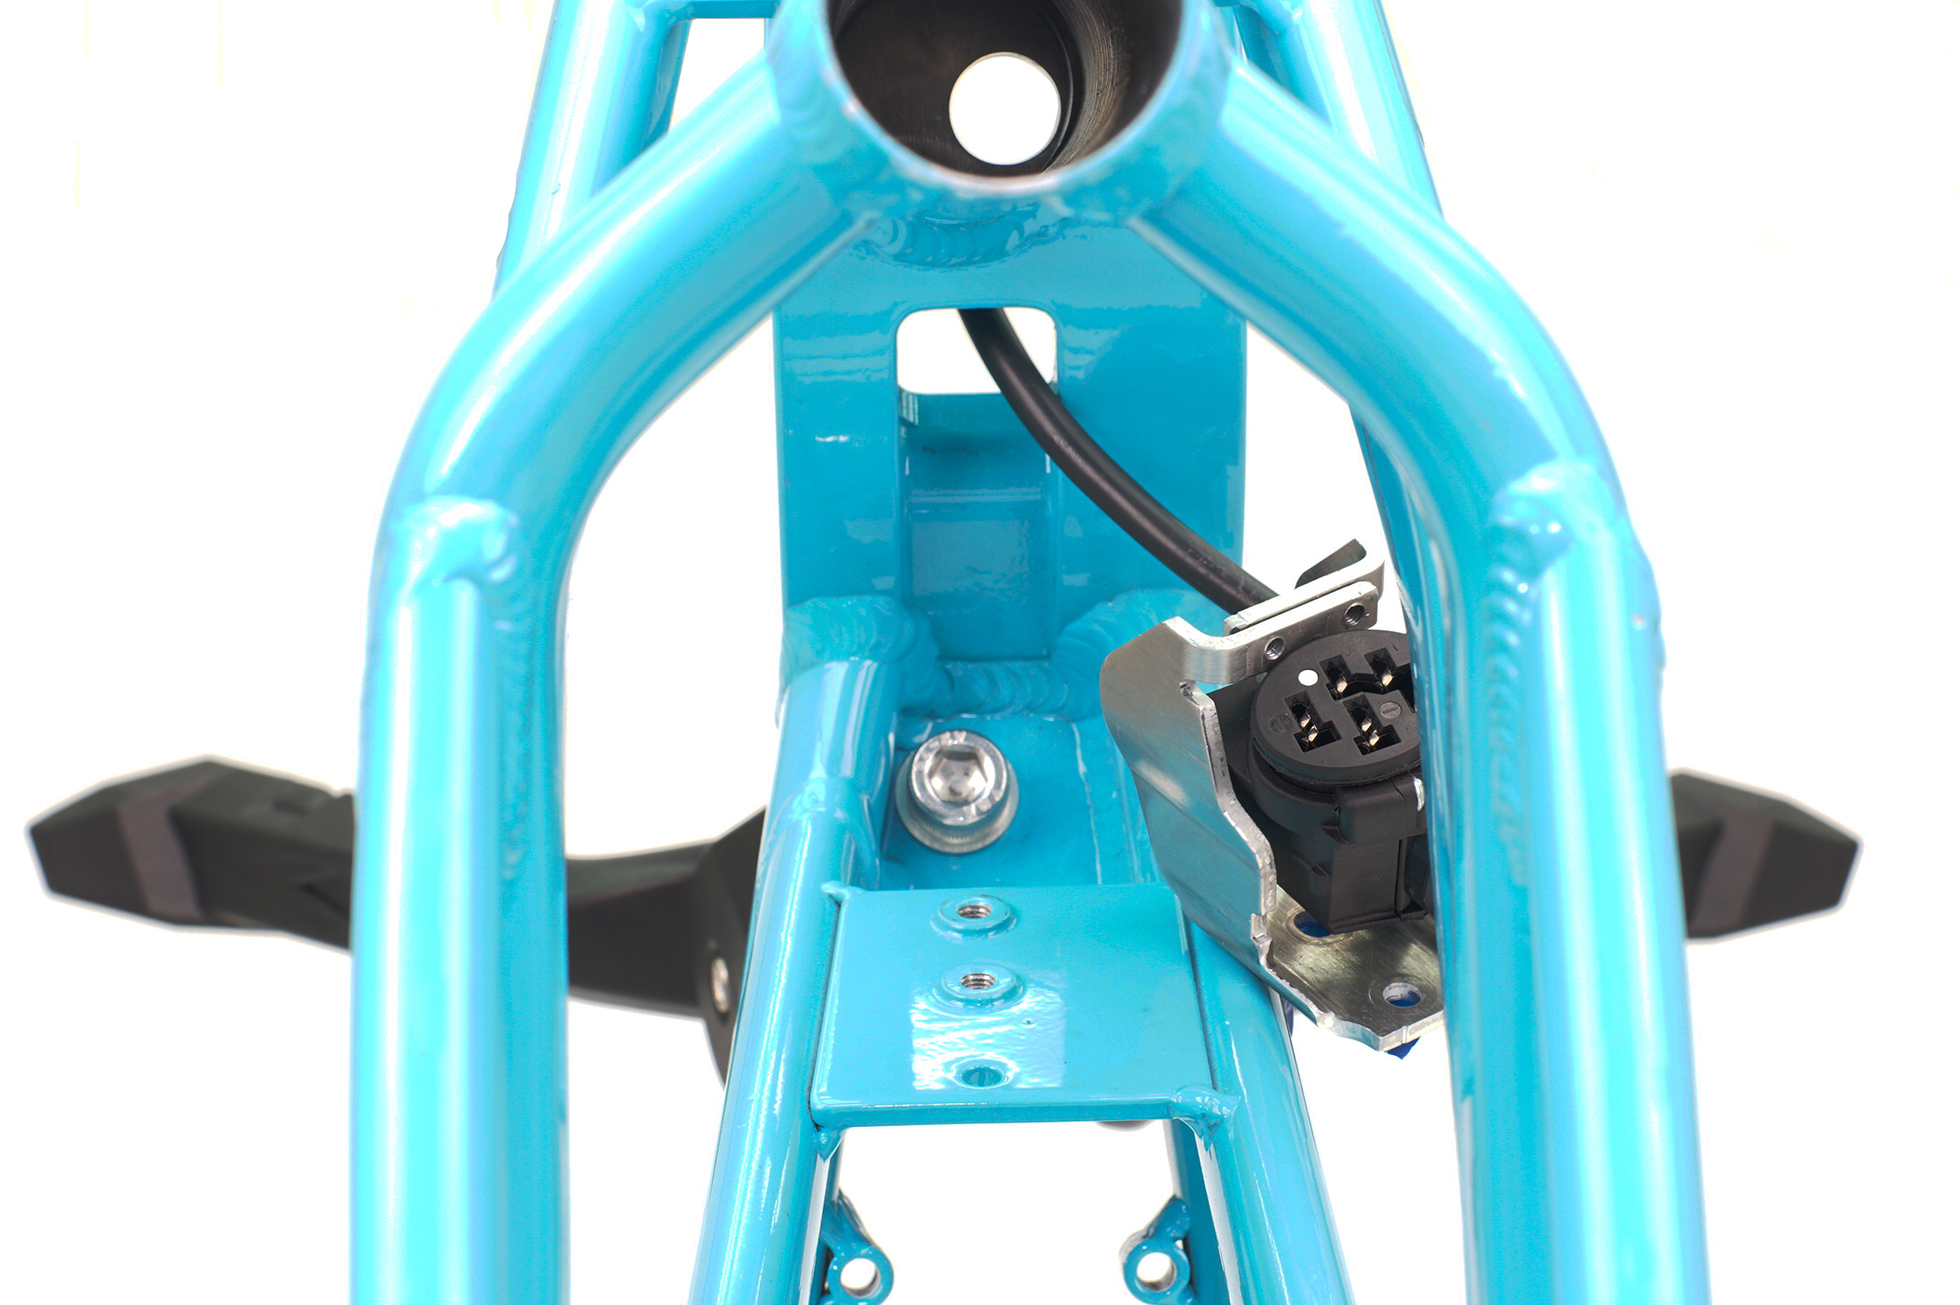
Step 5: Remove the metal bracket with a T25 Torx wrench.
Step 6: Gently move the metal bracket to the side to expose the kickstand mounting bolt. Detach the stock kickstand with an 8 mm Allen wrench.
After installing the Atlas kickstand or servicing the GSD kickstand, reassemble the battery holder by following the above steps in reverse order.
Please make sure to follow the torque values below when tightening:
- Metal Bracket (T25 Torx wrench): Max 5 Nm
- Plastic Holder (T15 Torx wrench): Max 2 Nm