Bosch Intuvia 100 Display Settings for Tern Bikes
This article refers to version 1.26.9 of the Bosch eBike Flow app. For the latest updates, please check the Bosch eBike Systems website.
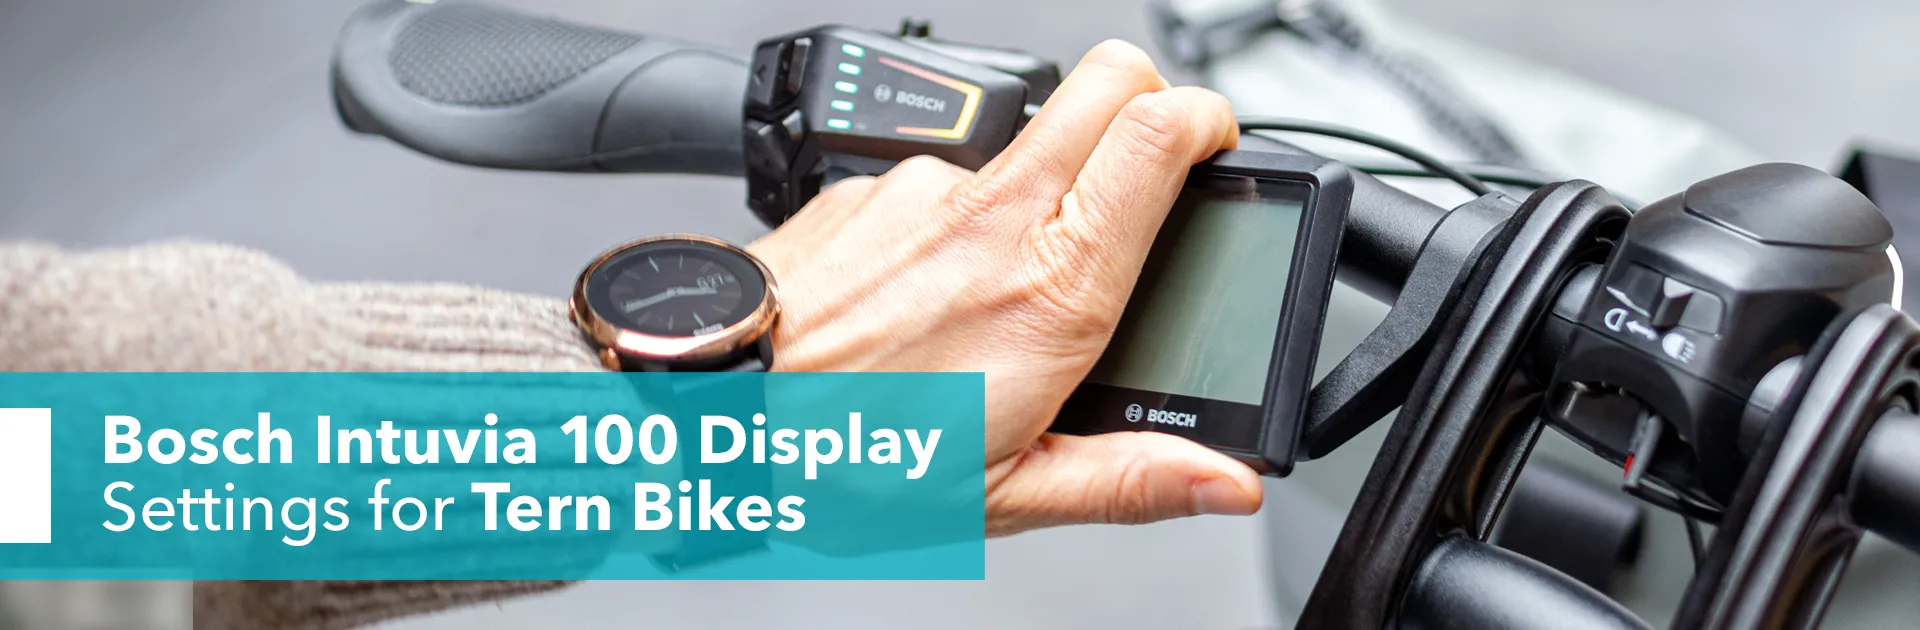
Some Tern bikes with the Bosch Smart System come with an Intuvia 100 display, which is key to operating its nifty functions and staying connected. This article explains how the display, LED Remote, and eBike Flow App work together by covering their basic functions.
Contents
- What is the Intuvia 100?
- What information does the Intuvia 100 show?
- How to Use the Bosch Smart System LED Remote
- How do I connect the eBike Flow App to my bike and display?
- Can I remove the Intuvia 100 from my bike?
- More Information

What is the Intuvia 100?
The Intuvia 100 is a display installed on certain Tern bikes with the Bosch Smart System. It has a large, monochrome screen and shows you all the essential information about your ride. The Intuvia 100 can only be operated using the LED Remote—it is not a touchscreen display and does not have physical buttons or a USB port.
What information does the Intuvia 100 show?
Apart from the assist levels (Eco, Tour, Auto, and Turbo), here is the data you can check on your display:
Ride Stats
You can access the following by toggling the (</>) buttons on the LED Remote. Described from left to right:
- Distance: Distance covered in your last ride.
- Riding time: The time you’ve spent on your last ride.
- Range: Corresponds with the assist mode you’re in while you’re viewing this information. For example, your range in Eco mode might be 50 km and 40 km in Tour mode.
- Average speed: The average speed during your last ride.
- Maximum speed: The maximum speed during your last ride.
- Total distance: The total distance you have covered in all of your rides.
- Current time
Other Information
Battery level, headlight, and eBike Lock.
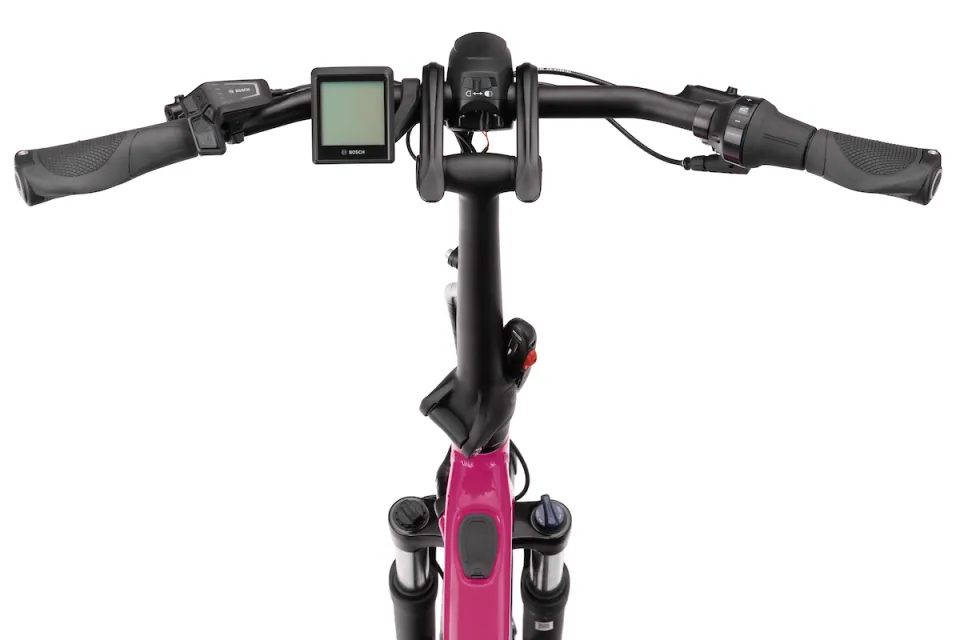
HSD Gen 2 cargo eBike cockpit with the LED Remote and Intuvia 100 display
How to Use the Bosch Smart System LED Remote
Everything starts with the LED Remote, which is the control unit of the Bosch Smart System. The remote is located by the left-hand grip so you can use it with just your left thumb, which minimizes distraction during riding. It helps you switch between the four assist levels and control all types of e bike settings.
LED Remote Functions and Buttons
- Turning on/off the system: The on/off button is at the top of the LED Remote.
- Switching between assist levels: Press (+) to increase your assist level, and (-) to decrease it.
- Browsing the display or settings menu: Use the left/right buttons (</>) to browse the display menu at any assist level or when you’re viewing the settings menu.
- Selecting items: Press the diamond-shaped (♦) button to select any item on the display menu.
How to Use Walk Assistance
The Walk Assistance function engages the motor to help you while pushing your bike, which is particularly useful when transporting heavy stuff and/or need to go up an incline.
Step 1
To activate Walk Assist, press the (-) button for more than 1 second, move your bike forward or backward, or tilt it sideways within 10 seconds.
Step 2
Keep your thumb on the (-) button and push your bike. Walk Assist is automatically turned off if you release the (-) button and do not press it for 10 seconds. If you press the button again within 10 seconds, then Walk Assist will be reactivated.
How to Use Hill Hold
For extra safety, the Bosch Smart System has Hill Hold to automatically lock the wheels for a moment if the bike starts to move backward. This function gives you a few seconds to regain control of your bike and prevent it from rolling away.
Step 1
Once Walk Assistance is activated, release the (-) button to activate Hill Hold.
Step 2
To turn off Hill Hold, press the (-) button again and hold it to return to Walk Assistance mode. To turn off Walk Assistance, release the (-) button and do not move it for 10 seconds.
How to Change the Intuvia 100 Display Settings
In any assist level, press the ♦ button. You can use either this button or the (</>) buttons to toggle between the Settings menu options.
How do I connect the eBike Flow App to my bike and display?
To use the eBike Flow App, you first need to create an account with Bosch. If you don’t have an account, you cannot personalize your eBike settings and riding experience, such as activating the eBike Lock.
Step 1: Set up your user profile with Bosch
Please follow these steps to install the app and set up your user profile with Bosch.
- Go to the Google Play Store or App Store to download the app.
- Once the app is downloaded, tap Get Started.
- Create your account with Bosch: To create your account, follow the steps in the app. If you already have an account, you will be asked to log in with your SingleKey ID.*
- Type in your first name. The system will use your name as your bike’s name.
- If the sign-up or sign-in is successful, you should now be on the app’s home screen.
Once the above process is complete, let’s move on to connecting the Flow app to your e-bike. You can also refer to our article about the eBike Flow app’s basic settings for extra information.
*Since April 2023, Bosch uses SingleKey as a platform for customers to access their Bosch account—you can still log in with your Bosch ID credentials.
Step 2: Connect the Flow app to your bike
Ensure that your phone’s Bluetooth function is on. Then:
- Go to Connect eBike on the app home screen.
- Tap LED Remote.
- Make sure you’re standing right by the bike. Tap Continue.
- Press and hold the on/off button on the LED Remote, and the top LED should start flashing.
Step 3: Connect the Intuvia 100 to the Smart System
Remain in the Flow app.
- Go to Settings > My eBike > eBike info/Components.
- Select Add new device > Intuvia 100.
- Press and hold the Bluetooth button on the back of the Intuvia 100 until it shows Pairing Mode. After releasing the Bluetooth button, it will take 30 seconds for the Intuvia 100 to be found.
- Check if the 12-digit MAC address on the Intuvia 100 is the same as the MAC address in the eBike Flow app, and tap Connect to confirm the pairing process in the app.
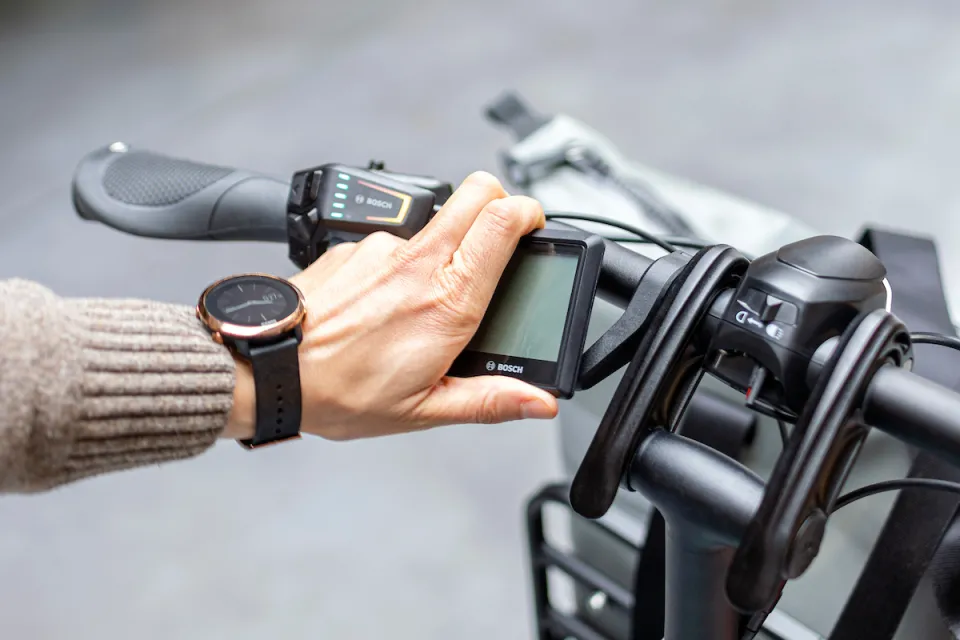
The Intuvia 100 display being removed from an HSD e cargo bike
Can I remove the Intuvia 100 from my bike?
Yes, it is possible to remove the display from your bike. We recommend that you do this when parking the bike to avoid tampering, damage, or theft. Turn the display 45 degrees counterclockwise and pull it out.
To insert the display back, place it in the same spot and turn it clockwise until it engages. If you prefer to leave the Intuvia 100 on your bike, there is also a locking screw to prevent it from being removed from the bike.
More Information
For more detailed information about the display, please refer to the official Bosch Intuvia 100 user manual. We’ve also got you covered with an article about the Bosch Smart System for Tern bikes.